
Hi all and welcome to a special Saturday update here from Brazen Wolfe Tabletop featuring the beginning of my new arcane aftermath terrain.
So as you would be aware of I am not just a Dungeon master I also partake in Warhammer (as often as I can). For those who may not be familiar with the hobby it requires an army (between 4 and 200+ individual miniatures), a 6ft by 4ft table (actually 60″ x 44″) and terrain give a sense of thematic and tactical decision making.
Lately I’ve been going through a bit of a hobby drive and I’ve got some progress to show before I head to a local 2 day tournament next weekend.
So let me know what you think of it. Its slow going process with family life and work but the goal is to have a whole table of this terrain that is both thematic and tactical.
Ground works


Alchemist hut
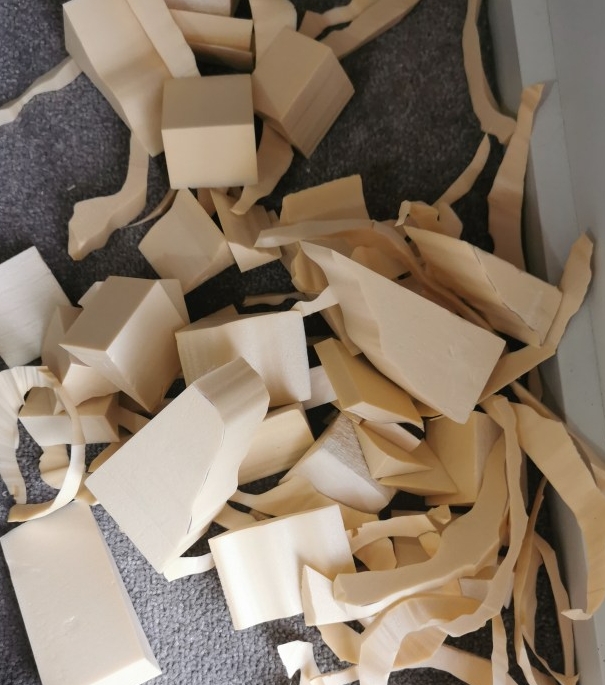
Taking a smaller base I built it up aggressively. Taking a large, thick foam off cut and then building on top of it to get a flat spot with sloped jagged rocky formations on the edge. The bricks are hand made being hot wire cut, hand textured and then glued down one by one.
Deciding to have a hut and a floating power stone attached to the hut. After getting the general shape and gluing them thinly down to the base I worked my way up until I cut a scrap square of foam thinly then onto two halves of a roof. Using the roof as a brace for the two additional layers of bricks at the back of the hut. Then a carving a mini rock and securing it with wire to the base it’s ready for the next steps.


Shattered Stone
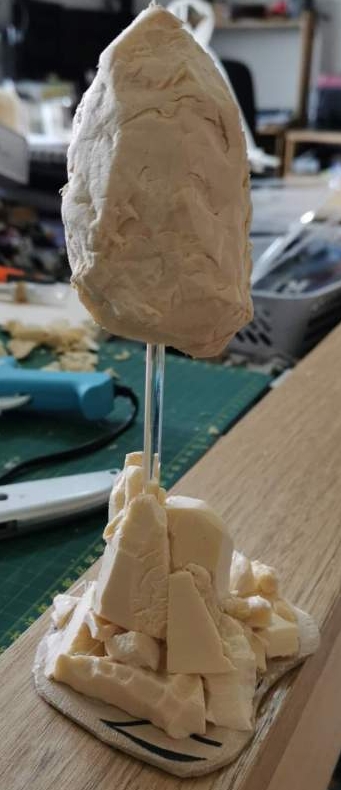
This piece is another easy scatter piece. Using scraps I built up a central spire of stone and using a 5mm clear acrylic rod cut to around 100mms in length I created a floating rocky from one of the original pieces.
The process really is simple. Grab a bit of foam and stick it down where you think it fits best. I let my eyes and fingers guide me on this one just finding a piece of scrap foam, sometimes cutting it more then sticking it down. Nothing too technical or fancy.
Once it was done I carved and picked his of foam out of all the foam used to give it an uneven textured look. This will help with dry brushing and the next few steps in texture.


Shattered monolith
The next one is a bit harder and it’s not just because it’s bigger. I wanted to have a stone monolithic comic out of the groove and leaving a well between.. So I had to cut and shake the monolith and use lots of scraps of xps to build up a well that I’ll add water effects into at some point.
The process was very similar to the last one laying many flat and angled pieces of foam to build a ridged well in the middle. After I had the basic shape I carved and picked at the foam to get uneven and chaotic and natural looking rock textures. Doing the same for the floating stone I also made vines or ropes from wire to both look good and keep the monolith floating.


Thanks for joining me for a hobby update night. Don’t forget to come back tomorrow for content, hopefully in addition you the end off week write-up. Oh and as always don’t forget to roll with advantage,
The Brazen Wolfe
